How to create a flower mandala with Adobe Illustrator

How to Create a Flower Mandala With Adobe Illustrator
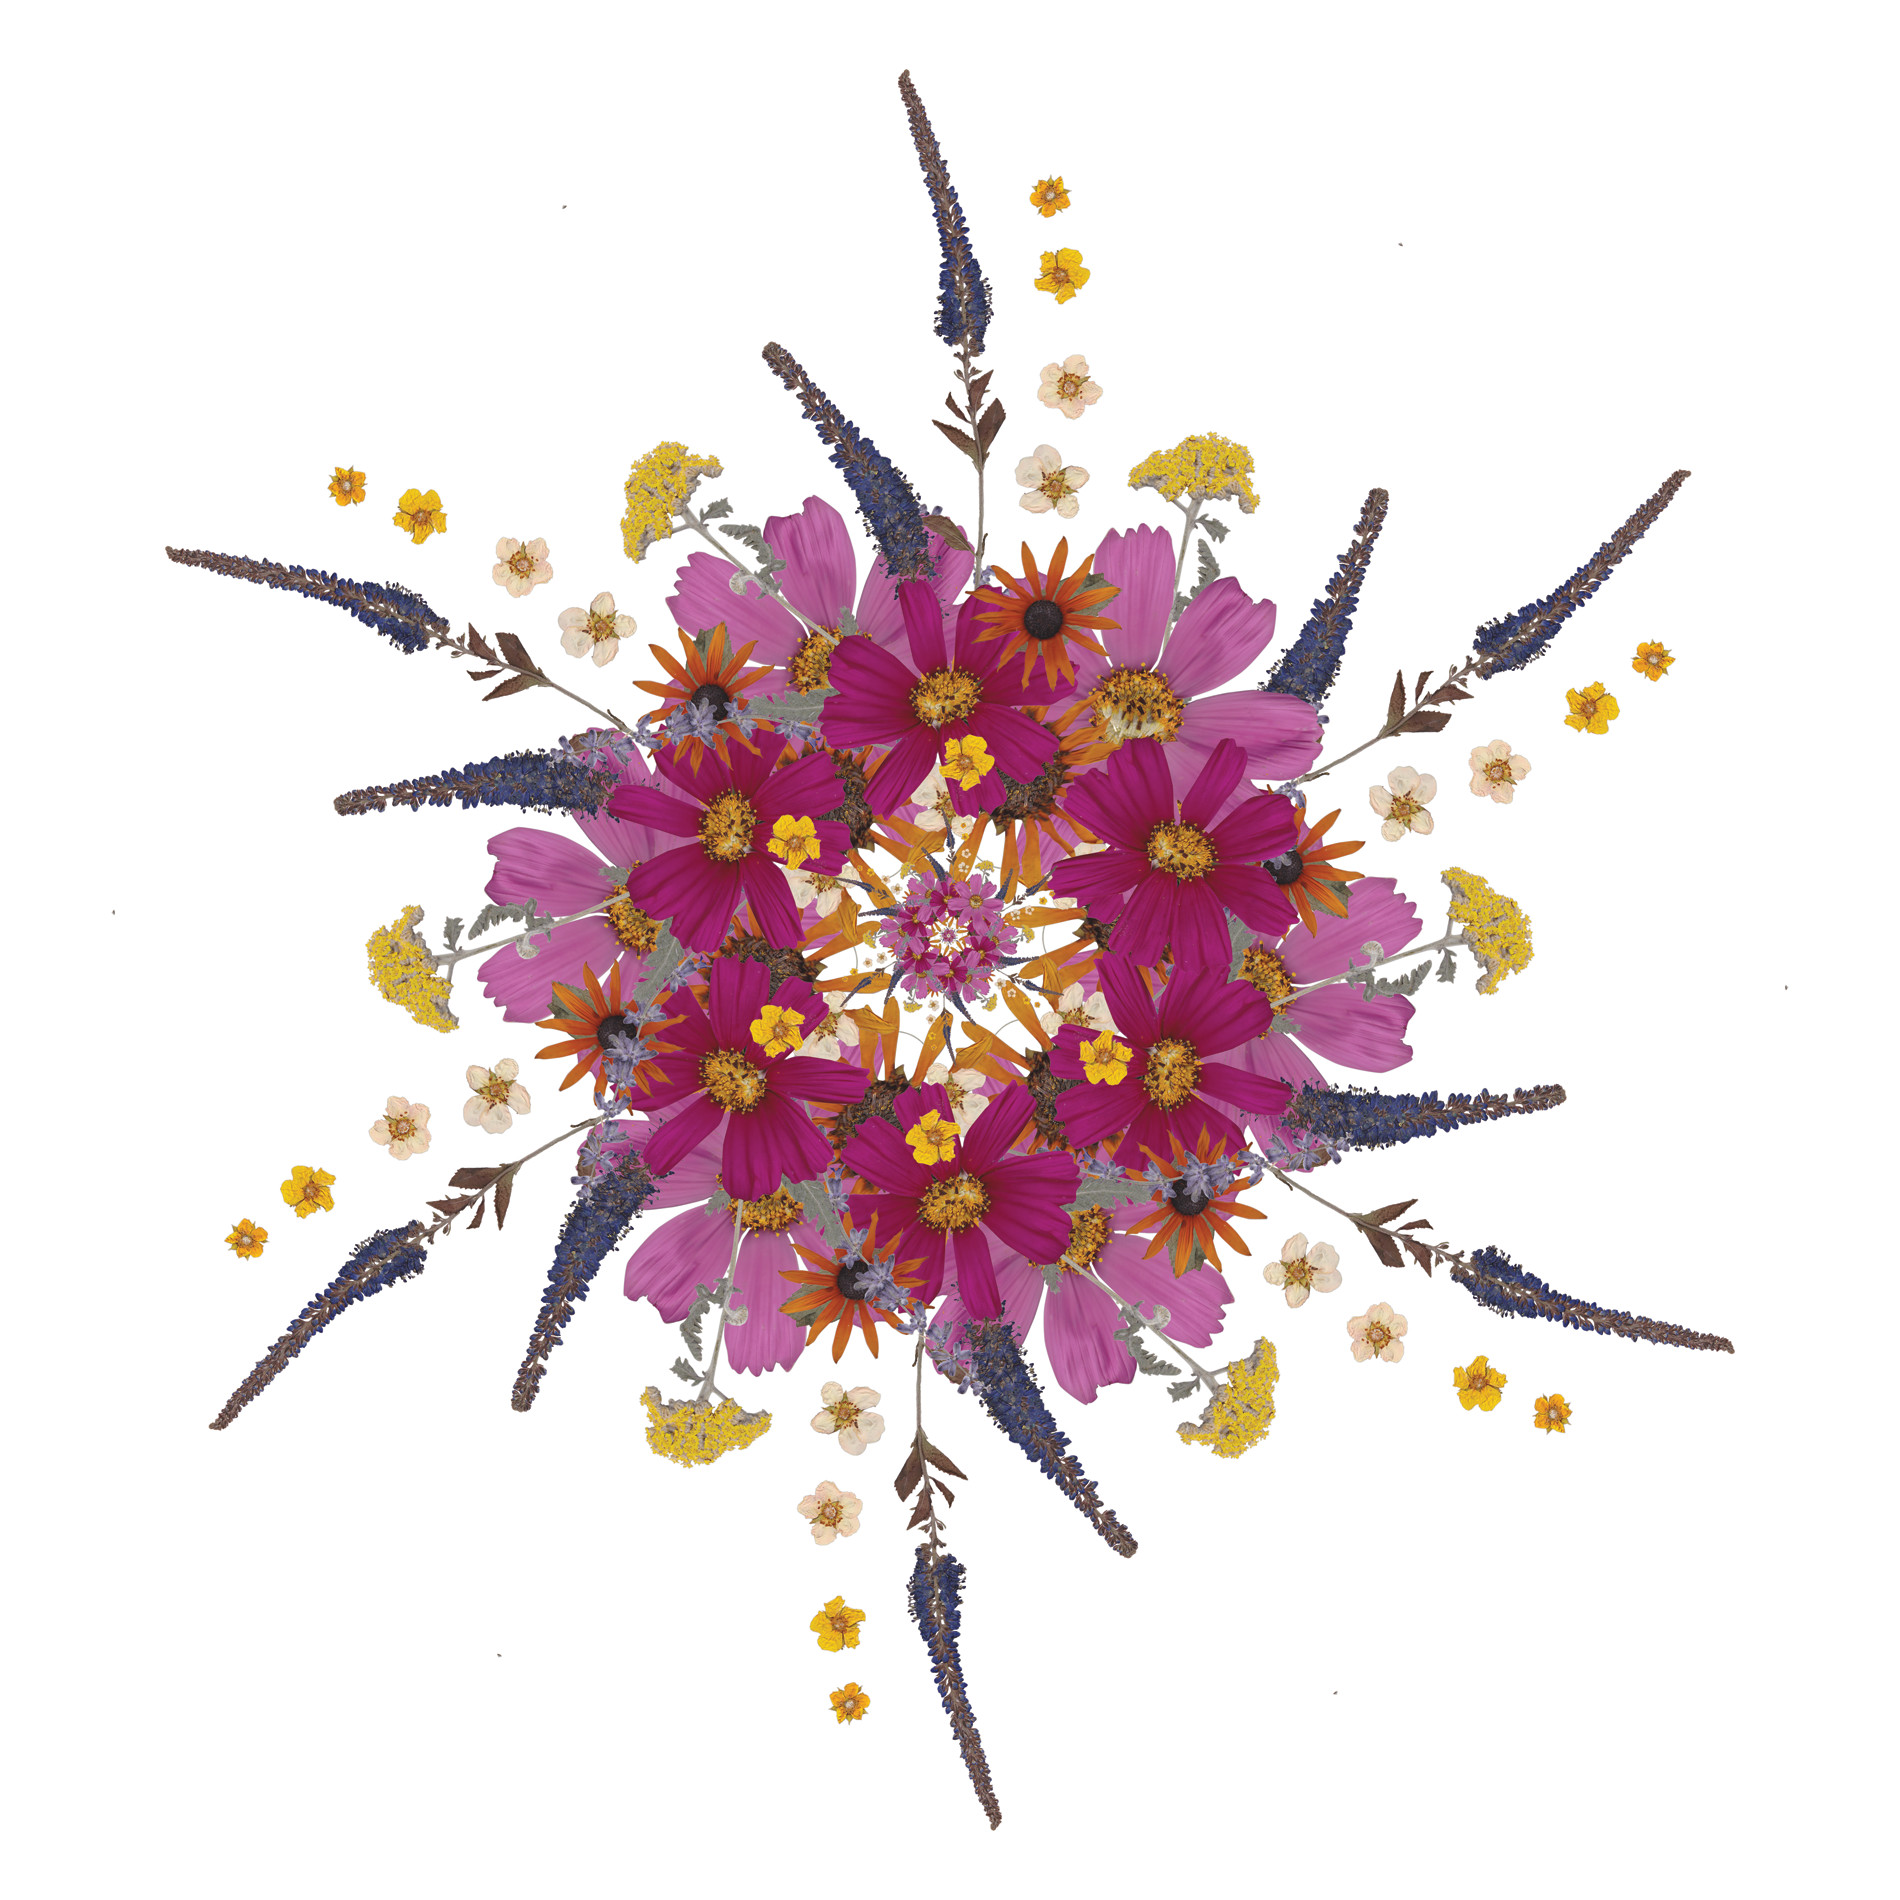
In this video tutorial I will teach you how to create a flower mandala using the Adobe Illustrator transform effect. Which is available on the latest version of the Adobe Illustrator CC.
Hello! I am happy to show you how to create a flower mandala with Adobe Illustrator. The mandala design you see above is an intricate design, but I will be showing you the basics so that you can let your creativity go wild with the tools that I show you. Please feel free to comment below if you have any questions about the process. Also, let me know if this tutorial was helpful!
The Graphics I am using in this demonstration are some flower PNG’s I CREATED from flowers I picked and pressed this year from my neighborhood around Boulder, Colorado. After I picked and pressed them, I scanned them to disk at a high resolution and imported them into Photoshop where I meticulously cut out the borders of each flower. This was a long tedious process, but it paid off because now I have super-high quality PNG’s to share with you to make photo realistic digital art.
I hope you enjoy!


What is the best way to press your own flower and digitize it?
Hi Dawn!
I think the best way to press the flower is to use a flower press, or press it in between pages of a heavy book (with additional heavy objects placed on top). After it is fully dried, then place it on a scanner and scan at 600 dpi, which will double its size. The best way to digitize the flowers into PNG’s with a transparent background is to import your scan into photoshop, and then use the pen tool to trace the details of each flower so you can delete all of the white background. Using the pen tool while zooming waaaaaaaay in will produce the most realistic effect. Unfortunately, for a very detailed flower, the process can take many hours per flower. So, if you have a lot of spare time and enjoy being super detailed, go for it!
Make a more new posts please 🙂
___
Sanny